How To Organize Your Jewelry:
How many of you have those long necklaces, space occupying bracelets, or tiny earrings that always get lost? Well, we tend to think about jewelry organization how we think about cables and cords, all wrapped around one another, a complete mess. Today it’s time we show you tips for how to organize your jewelry.

There is no doubt organizing or displaying jewelry neatly, can be a tough task.
Imagine actually going out for a change, wearing the necklace or earrings you intended to wear. Talk about starting the night on the right foot.
With that said, follow along as we learn together, creative ways for not just organizing jewelry, but displaying it as well.
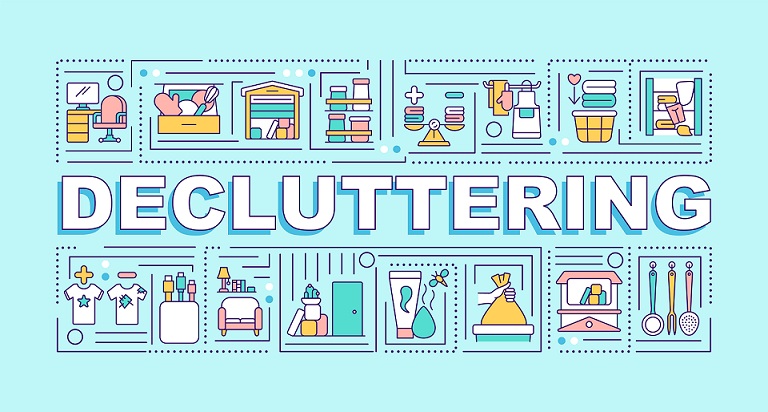
Tip 1: Clear the Clutter:
Above all, clear the clutter. Self explanatory at this point. This involves you moving forward with this seemingly impossible task. You know, the part where you go through all of your pieces one-by-one.
Surely, half the time will be spent untangling the web of chains that has accumulated. In spite of this, we must move on, you can do it.
Like many other organizational tasks, it’s hard to visualize the end product or even how to get there, without having a good starting point.
Tip 2: It’s Time to Say Goodbye:
You guessed it, it’s time to get honest with yourself. What earrings, bracelets, necklaces and other items do you actually want or still wear, and which ones are pieces of the past.
Ask yourself:
- Do you have old jewelry needing brought back to life with a simple polish?
- Do you have jewelry that’s broken, or needs repaired?
- Are you missing pieces, matches, backings?
- Are some pieces just out of style for your look?

In truth, we probably all have items that we just frankly aren’t into anymore. If it’s something of value, maybe try selling it. There are tons of places to sell your items nowadays for a small profit.
Tip 3: This With That:
Next, we sort. There are probably many ways of sorting and categorizing your jewelry that makes sense to you.
Do you categorize by type of jewelry, matching sets, or even occasions?
That’s really for you to decide based on what you have and your style. However, what we can do is give you a place to start. Maybe some cool ideas that may make this process slightly easier and more interesting.
Furthermore, there are many projects you can DIY. In fact, in today’s content and video world, the options are endless.
Once you’ve chosen how you want to organize your jewelry, browse this post or others, head to your local craft store, and get to work.
Below we’ll talk about some of these DIY ideas and other more traditional methods.
Here are some Tactics on How to Organize your Jewelry on a Countertop or Dresser:
a. The Egg Carton Hack:
Wait, an egg carton for jewelry?
This is one of the oldest tricks in the book and you can make it actually look really cool. In fact, you are just re-purposing something you already have. With that said, not only can you make it look cool, but it’s inexpensive to do.
Great Video of DIY Ideas for Jewelry Organization Below
b. Stack-able Jewelry Trays:
Another option is using stackable trays. The options for these trays are endless. Sleek designs, assorted materials including glass, metal, fabric lined, and even acrylic, to suit your style.
Above all, you can take advantage of vertical spacing. These give you the option to stack multiple trays, creating your own unique space.
Consequently, if this is an option for you, make sure to check out trays that include inserts or dividers. This will give you more options in keeping earrings, bracelets, necklaces or other items, separated.
However, if you’re the crafty type, you can also make these trays yourself, creating your own customizable DIY look and feel. The idea here is to save you space, be practical, but to also give your room a trendy and unique look.
Similarly, you could choose inexpensive plastics bins that have pull out drawers to separate your items at any local Target or Walmart if DIY is not your thing.
c. Jewelry Box:
Indeed, not a new thing. Most women I’m sure at one point in there lives have had a jewelry box.
However, don’t let the old school nature of this, steer you away. This is one of those rock solid, can’t miss options. Believe it or not there may be more options then ever before as well.
Don’t believe us?
Do a quick browse on ETSY and you are sure to find one of a kind handcrafted jewelry boxes. Often these jewelry boxes can be made from wood, to boxes made entirely of fabrics. Heck, even have it embroidered with your name.
How About This Cool Makeover Option:
d. Jewelry Stands/Tiers/Tree:
Again, these types of stands help make use of vertical space, which we love.
A recommendation for these stands is to find one that also doubles, with an additional drawer attached, which makes it easier to store earrings and other small pieces that may not hang as easily or simply look better, less cluttered tucked away.
How To Organize Your Jewelry Inside Your Dresser Drawers:
As we move along, this may be one of the best ways to organize your jewelry.
Why?
Above all, it’s out of site, making your room look and feel less cluttered. The options for drawer organizers are great as well. Oftentimes, they are versatile, offering expandability options, stack-able options, or creating a combination of containers to house whatever pieces of jewelry you have.
Modular designs allow you to be creative with you organizational tactics.
Custom Makeup Drawer:
Customizing A Jewelry Drawer:
How To Organize Your Jewelry w/ Hanging Jewelry Holders.
a. Hang with Pockets:
These hangers are great for smaller more confined spaces. They typically hang on your door. However, can hang from a closet hanger, or from some sort of rod mounted on your wall. Often, they are able to hold a lot of pieces as well.
We’ve found they work well with smaller items of jewelry. Another piece of advice would be purchasing ones with see-through pockets, making it easier to see what’s inside each pocket.
b. Closet Hangers
Another great idea is making use of a wooden, or metal hanger. This is a simple DIY project. Necklaces and other longer pieces of jewelry fit perfectly, it can save a ton of space, and it’s inexpensive.
Here is Another Hanger Hack:
c. Jewelry Wall Organizer:
Another simple DIY project is a wall organizer. Firstly, purchase a strip of wood from your local home improvement store. Secondly, give it few coats of paint or line with fabric, and then mount it on your wall.
Finally, once mounted, attach some small screw-in hooks. This one strip of wood, can give you tons of space for longer pieces of jewelry, saving you much needed space.
d. Peg Board Jewelry Organizer/Cork Board:
Another creative way of organizing your jewelry (especially) longer necklaces, is using pegboard or cork board. Oftentimes, they are relatively inexpensive at most craft, home improvement or office supply stores.
Most important, for this project, they can offer a ton of options for storage. The are tons of different styles of hooks, rods, tac’s, and pegs. Furthermore, do a combination of them, to give it an eclectic and original feel.
DIY Pegboard For Jewelry:
e. Picture Frame Jewelry Organizer:
Maybe. Just maybe, we’ve saved the best for last. You can do so much with this idea and get so creative.
Finally, we present the picture frame jewelry organizer. All you need is an empty picture frame (which is super easy to DIY) and a few other components. Afterward, you’ve got yourself yourself a unique, custom, one of a kind, hanging jewelry organizer.
Picture Frame Hack For Jewelry:
Using a wire mesh type material makes for a super fast, simple way of completing this project. In fact, the only other tools you need are a commercial grade stapler, and a wire cutter.
Similarly, you can do this with fabrics, string material and even a cork board to make for a fun project.
Final Thoughts!
Once again, thank you for visiting us here at RN to Zen.
Surely, we hope you enjoyed the post and maybe even learned a cool jewelry organizational hack.
Feel free to share this on social media.
