How To Start A Soap Business, Part I:
So you’re looking to explore the vast world of soap making, and need answers on how to start a soap business?
This can seem like a daunting task to some. Truly, you may have no idea what you have in store. Whether you’re looking into soap making as a hobby, business, or skin related issues (like eczema or skin allergies), it can be difficult to find the right allergen-free soap to fit your needs.
Regardless the reason, you need a starting point, right?
Eventually, when we decided it was time to devise a plan for our business, it worked wonders for us. It’s not about reinventing the wheel. What has worked since the beginning of time with business, works here and now. Have a goal. Then, devise your plan.
Will things always go according to plan? Probably not. So have an open mind, alter it slightly to get back on track!
When we first started soaping, there were many things we could have done differently.
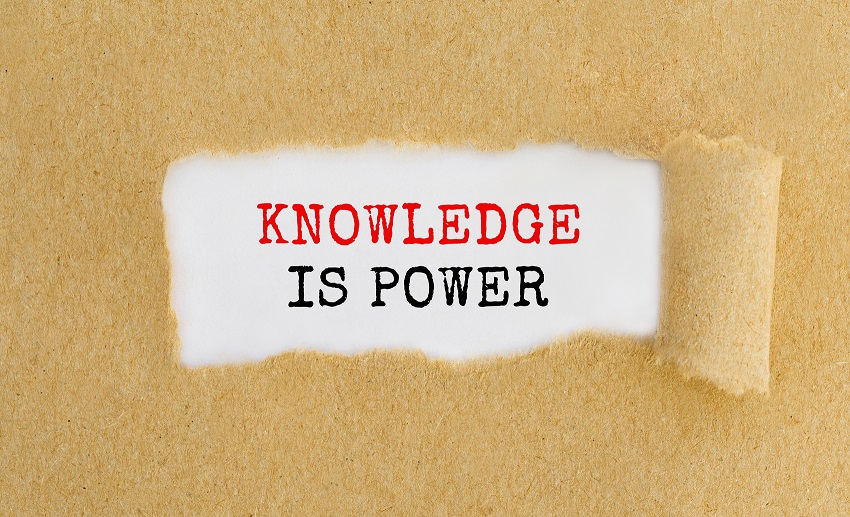
Our first mistake was not that we didn’t do enough research, it’s that all we focused on was learning. Whether that was new terms, understanding lye safety, brainstorming designs with our soap, and so on.
It was like this endless wormhole we went down. Oftentimes, getting hands on and failing, teaches you the most about a process.
Funny Fact!
Why was this a problem in our case?
The problem was, for 3 months we read and learned and talked about what we wanted to do. Then, we read some more, and talked again, brainstorming tirelessly. Funny, (kind of embarrassing) fact, WE DIDN’T MAKE A SINGLE SOAP FOR 5 MONTHS! All this knowledge, but no physical efforts of making soap. No idea what actually works and what doesn’t.
Maybe we were nervous, maybe we had doubts, maybe we were to busy at the time at our full time jobs of being nurses. The truth is, we don’t know exactly why it took us so long, most likely a combination of the above.
We know what it’s like to read about ingredients like “lye” and think to ourselves, are we really going to buy “lye” over the internet and everything that goes along with “lye” safety. I think we were nervous in a way about it. However, if you want to make cold process soap (and have complete control over your recipe) you have to work with lye!
You see, soap making is a process. We’re going to break it down as simply as possible so you can get on with your journey as well! With soap making, you need to learn a little and then practice a lot. Learn a little more and then practice a lot. That’s the key that we’ve found. Failing in soap making can be some of the best lessons you will ever learn to ultimately get to “your” perfect method and soap outcomes!
I. Step 1: The Basics. What You Need to Make Your First Cold Process Batch of Soap?
Remember, like a lot of things in life this is a marathon, not a sprint to the finish. Each and every soap batch you make can give you it’s own set of challenges, like overheating, overmixing, accelerating, discoloring, and many more. Trick is to keep logs a long the way of what works and what doesn’t, recipes, etc.
Enough chatting let’s get to it.
A. General Knowledge:
Why are you making soap?
That’s right, this is knowledge you should already have. Is it strictly a DIY skill? Do you want to fix a problem (allergy related)? Are you going to sell your soaps? Do you want to share your artistry or creativity?
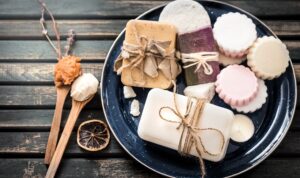
What is homemade soap and why is it different then store bought?
One of the most sought after benefits is that it is gentler on the skin, manly due to glycerin which is key for a moisturizing bar of soap.
You’re in charge:
You can make fragrance-free soap. If there are other reasons you or a loved one doesn’t want certain chemicals touching their skin, you can omit them by making your own soap!
Lye safety:
Understand what lye is. In cold process soap, lye is the ingredient that is used to make a solid bar of soap. Lye is also called sodium hydroxide. Read more about lye and lye safety here!
Understand Lye calculators:
Essential in soap making. You must be familiar with lye calculators. Why? Each oil is different in it’s makeup. The ability of say palm oil to saponify (turn into soap) vs. rice bran oil is going to be different. Each recipe you make, or change you make to a recipe, must go through a lye calculator!
Try out our favorite here: www.SoapCalc.net
Understand different oils and there makeup.
Again, what do you want from your soap? Start with basic oils, used in soap often. A good basic recipe as far as percentages is 32% Olive Oil, 32% Coconut Oil, 30% Palm Oil, 6% Castor.
We’ll talk about why these base oils work well together and their properties later.
Work in a well ventilated space due to fumes from lye!
B. Tools You’ll Need
*Separate your kitchen supplies and soap making supplies. It just seems right to do this. Lye, oils, colorants, additives. Do you really want that close to where you eat?
Gloves, gloves, gloves:
Plastic or rubber. You will go through a lot of gloves. Always handle lye and batter with gloves.
Long sleeve shirt:
Always soap with your arms covered. Accidents happen and soaping can be messy. You don’t want lye getting on your skin.
Pants:
Point here is, cover up! Any skin that’s showing could be in danger of an accidental lye spill!
e. Closed Toed Shoes
Fairly self explanatory.
Soap Making Safety Goggles:
If you do get lye in your eye, wash with cold water for 15 minutes, seek medical attention! Take out any contacts you may be wearing!
Lye container:
We always use designated lye containers. We prefer stainless steel, but you can use glass or heavy heat-safe plastic.
Don’t use aluminum/cast iron or other non-stick containers as they can have adverse reactions giving off bad gases with the lye or lye/oil batter. We prefer large mixing bowls or large plastic buckets for a large batch. You can find rather large glass mixing bowls on Amazon. We do prefer glass, but it can get heavy and glass does break!
A good scale:
You need a scale that does small measurements for colorants, fragrances, etc. You also need one that does larger volumes. This is the one piece of equipment that may cost a tad extra. Many scales do one or the other well, so you may have to invest in 2 scales.
Blender:
More specifically you need an immersion blender. These work great in small spaces and the types of containers you will be using. You may even already have one of these. Again you may want one just for your soaps. We prefer a stainless steel end piece.
Truth is a stick blender may not even be used when you first start. For a small batch, you may choose to hand mix, to get a feel for how to determine light, medium trace, etc. It’s a good lesson!
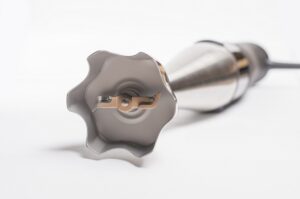
Thermometer:
We prefer an infrared thermometer since you’ll be checking the temperature of your lye, and oils frequently. This allows for a very accurate temperature without touching your liquids.
Soap Mold:
The easiest way (for us) to start was with a basic 2.5lb silicone soap mold. This will yield a small loaf of soap and get you used to the process. If you prefer, you can always invest in even smaller 1lb molds, or individual heart shape molds, etc. You can also unmold and get used to cutting the soaps.
Cutter:
Easy to find on amazon or other baking stores. You can invest in a regular handheld cutter or loaf cutter. A normal handheld is good for now, until you learn the basics.
After a little research, you’ll be ready for Soap Making Journey Part II.
