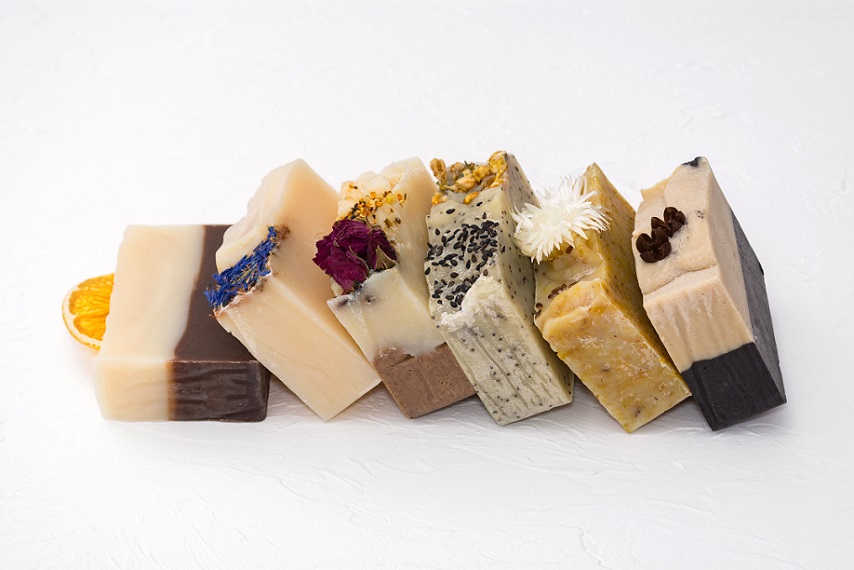
How To Start Making Soap:
In this second installment of “Helpful Tips on How to Start your Cold Process Soap Making Journey”, we’re going to take you back to the basics. We’ll touch upon some of the most basic terms that every soaper should have a firm understanding of. Let us help you discover, how to start making soap!
How To Start Making Soap!
Related Article: Helpful Tips on How to Start Your Cold Process Soap Making Journey – Part I
Basic Soap Making Terms:
Saponification:
Regardless of how the term saponification is mentioned, it is simply the chemical process that occurs when mixing oils with your lye water. They react together and form…SOAP!
This is why a lye calculator is used. Percentages and/or amounts of oils are entered into a lye calculator along with a ratio of lye to water. A lye calculator will then calculate the amount of water and lye necessary to make a balanced bar of soap!
What if I add to much lye?
Answer: Your finished bar(s) of soap may have left over lye in it. Consequently, can cause irritation to the skin.
What if I add to much oils?
Answer: The soap may end up to soft and never fully cure. Hence the use of a lye calculator!
Saponification Value (SAP Value):
Simply means how much lye it will take to saponify (turn into soap) 1g of selected oil. Each oil has it’s own SAP value. Some oils have similar or identical SAP values, but many do not.
What does this mean?
Answer: This means that you cannot simply interchange base oils in and out of soap (most of the time). Every time you make a new batch of soap, and you use a different oil, YOU MUST run it through a lye calculator.
Superfat:
This is the amount of oils “above” what the lye actually needs to turn into soap.
Why superfat?
Answer: If you simply soaped with a zero superfat, that means there are no extra oils/butters left once saponification has occurred. As this would be perfectly safe to use, it may not be skin nourishing.
If you add, a 5% superfat to your recipe, this simply means that 5% of the oils will not react with your lye. Meaning that these oils will be left over and add to the nourishing and moisturizing property of your soap.
Can I superfat to much?
Answer: Yes! Superfatting too much can leave your bar of soap way to soft. Furthermore, it can hinder other properties of the batch, like lather. For beginners, we recommended superfatting around 6% and not to go above 11%.
Here’s An Example Of A Lye Calculator:
Let’s pretend we have a “Sample Recipe”. You can see our sample recipe below:
Blue Highlight: Ingredients in our recipe and percentages of each (these are oils/butter you choose)
Red Highlight: Our Superfat percentage. Again this is a % you choose.
Purple Highlight: Lye/Water Concentration. 30% lye concentration for this recipe.
You can also see Under the #2, (top left hand corner), this recipe is for 1 pound of soap!

This is just to give you a basic look and idea of what a recipe or lye calculator looks like. Try not to make it more complicated than it is. There is a lot on this page, focus on one thing at a time.
a. “Type of lye” #1 (top left hand corner). In our case it is always NaOH, because KOH is for making liquid soap.
b. Enter in the amount of soap (#2) you wish to make, dependent on soap mold size.
c. Enter in the lye/water ratio (#3) you want.
d. Enter in the Superfat % amount (#4) for your recipe.
e. Choose and enter in you oils (#6) as well as percentages of each
II. Next Step – Calculate the Recipe:
Find out how much lye & water you need to mix with the oils by clicking the “Calculate Recipe” seen below:

Next click “View or Print Recipe” as seen below. This will take you to the recipe to make this batch of soap:

Once you click on this, it will take you to this page (below). This is your recipe and all the ingredients to make your soap batch!

For the sake of this article, let’s just look at the 2 highlighted boxes.
Blue Highlight: Again, for this article we are covering basic terms. For example, there is that word superfat again! This section also tells you “how many pounds of soap” you’re making. In addition, the lye concentration, which we’ll discuss shortly, in another article.
Red Highlight: Within this box, you’ll see the % of oils you chose. It will further break it down into “pounds” “ounces” or “grams” (whichever you prefer to use) of oils needed for saponification to happen, along with your “water” and “lye” amount.
If you were making this soap batch, you would then begin to measure your ingredients. In comes our next term, “trace”.
Now, just because you read this post doesn’t make you ready to soap. Understanding lye safety and other elements are essential first, as well as devising your own recipe! Be comfortable with handling lye, wearing safety equipment, using the right containers, etc.
Trace:
Trace is the point when the oils/lye mixture start to saponify or come together after emulsification (meaning, no streaks of oils in the batter remain). After you pour your lye solution in with your oils, begin to mix, eventually you will notice a trace.
In simplest terms, there is thin (light), medium, and thick (heavy) trace. This refers to the consistency of the batter, known as trace!
During trace, (usually thin or medium), is when additives and fragrances are usually added. You can read more about “what trace is in cold process soap making” here.
Once we have mixed our batter, and added our fragrance oil, the next step is to pour our batter into a mold.
Insulation:
Easy, right. After we’ve poured our batter, we insulate our soap.
Why?
If you don’t insulate and the batter cools to quickly or come’s in contact with a lot of air movement, we run the risk of soda ash forming on the top of the soap. Soda ash is perfectly safe, but it may not aesthetically turn out the way you’d hoped.
The easiest way we have found to insulate as a beginner, is covering your soap and wrapping it in a few towels.
Gel Phase:
Simply put, chemical reactions at this stage continue to occur between your oils/lye solution in the mold. As this happens the soap heats up, sometimes, upwards of 180-200F. The soap at this time will appear almost gelatinous.
This can effect the “after” appearance of the soap, as well as how quickly you can unmold it. If you gel the soap, usually the end product (bar) will appear more shiny, and translucent.
Partial Gel:
This is when some of your soap goes through gel phase. Usually, you’ll notice the inner portion of the soap (after cutting) appears brighter or more glossy. This is because the soap only went through partial gel.
There are several reasons why this can happen and troubleshooting methods for fulling gelling soap, but that’s for another lesson.
Cure Time:
Oils/lye have reacted, now we wait. Cure time is the time at which a percentage of weight is lost, mostly due to water evaporating. During cure time, your soap will harden. The process is usually 4-8 weeks.
Related Article: Cleanup & Safety Tips for Soap Making: Let’s Chat About It
Final Thoughts!
Shew, that’s a lot of information. Hopefully this gives you a beginning look at how cold process soap is made. Make sure you understand the basics, like lye safety, and equipment prior to making your first batch of soap.
Feel free to offer up some more basic terms in the comments section of our blog, we’d love to here some more tips as well, that may help new and experienced soapers alike!
