How to Clean An Essential Oil Diffuser: Clean My Diffuser:
Due to the natural purported healing properties of aromatherapy, it’s easy to see why essential oil diffusers have gained steam in popularity. Whether in your home, office, even your car, many of these diffusers do a tremendous job at distributing these beautiful aromas. However, maintenance is also essential. The following, explains how to clean an essential oil diffuser.
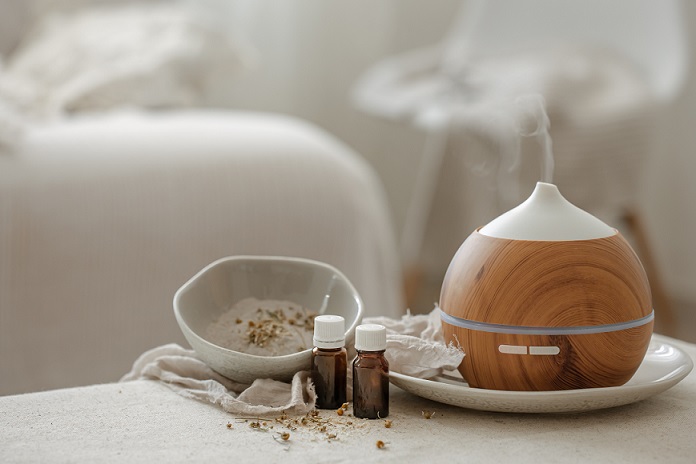
Why The Cleaning Is Needed For Essential Oil Diffusers:
Aromatherapy diffusers portability makes them very unique and special in there own right. With that being said, they will only remain highly effective if they are properly maintained.
Why clean these devices, aren’t many oils anti-microbial themselves?
Well some, yes! Many oils have properties to help contain bacteria. However, one of the main issues is with residue build-up. Some oils more then others, can leave your diffuser with residue build-up on the sides, tubes, micro-tubes, and throughout the inside of the diffuser, because of there viscous nature.
In fact, regardless what type of diffuser you purchase, oil residue can build up over time.
Furthermore, if you own a diffuser where oils are mixed with water, the water itself, can cause corrosion.
Thirdly, without regular cleansing, some odors can be difficult to clear-out. Hence, a deep cleaning will be essential and necessary. The gum-up of some oils can also interfere with aroma’s that you are using and alter the scents, making them less potent.
In addition to oil build-up making on the sides of a diffuser, they can also interfere with the electronic parts.
In other words, regular cleanings will not only have your diffuser running at top performance, but will cut down on spending hours deep cleaning them, as well!
Regular or Routine Maintenance Steps for an Ultrasonic Diffuser:
(Always read the manufacturers instructions for the specific brand of diffuser. Not only will this help the longevity of the device, but may help with any warranty issue that may arise.
Step 1: Unplug The Diffuser
Firstly, unplug your diffuser. Make sure to keep liquids away from the plug-in portion.
Step 2: Empty Excess Water From The Reservoir
Secondly, let all the oil/water mixture evaporate or be dispersed out of the reservoir, prior to cleaning.
However, if there are any liquids left over, make sure to pour them out during this step.
Tip: If you have a diffuser with operational buttons located along the side of the diffuser, pour out the liquids away from those buttons. Try to keep any liquids from pouring over-top of mechanical buttons.
Step 3: Cleaning Inside Of The Diffuser
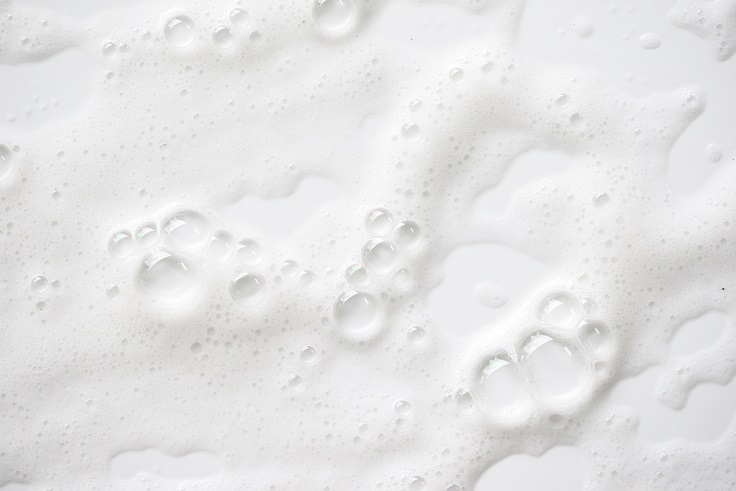
Thirdly, once emptied, grab a cotton swap or brush, add just a few drops of dish detergent (i.e. Dawn or manufacturers recommendations). Next get those suds working. Afterwards, gently wipe down the inside and sides of the reservoir.
Tip: Depending on the severity of build-up, the soap application may have to sit for a few minutes.
Ideally, you want something gentle, but that will also cut through residue build-up!
Step 4: Plate Cleaning
Ultrasonic diffusers often have a metal plate. This plate needs cleaned as well. A simple way to clean off the plate is with rubbing alcohol.
Oftentimes, build-up will appear on the metal plate, the alcohol should be enough to cut through the residue.
Because rubbing alcohol dries quickly, is inexpressive, and safe on most metal plates, its a viable option.
Always read manufacturers recommendations with plate cleaning
Step 5: Rinse
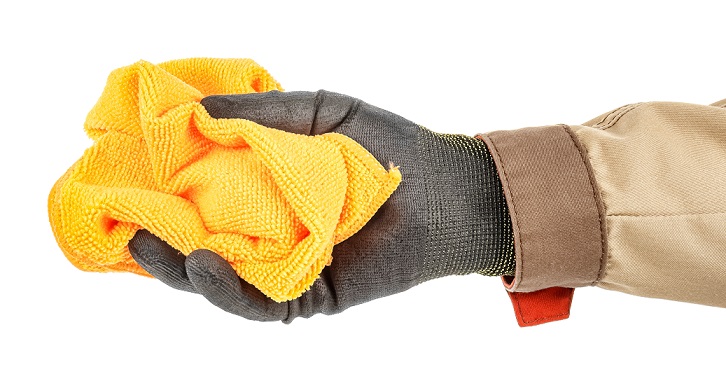
Simply rinse the soap out. Afterwards, rub with a dry soft cloth For example Microfiber cloth).
Simple as that!
How to Deep Clean your Ultrasonic Essential Oil Diffuser:
Step 1: Power Off
Firstly, power off the diffuser.
Step 2: Add Water
Add water (preferably distilled water). Fill up the reservoir chamber about half-way.
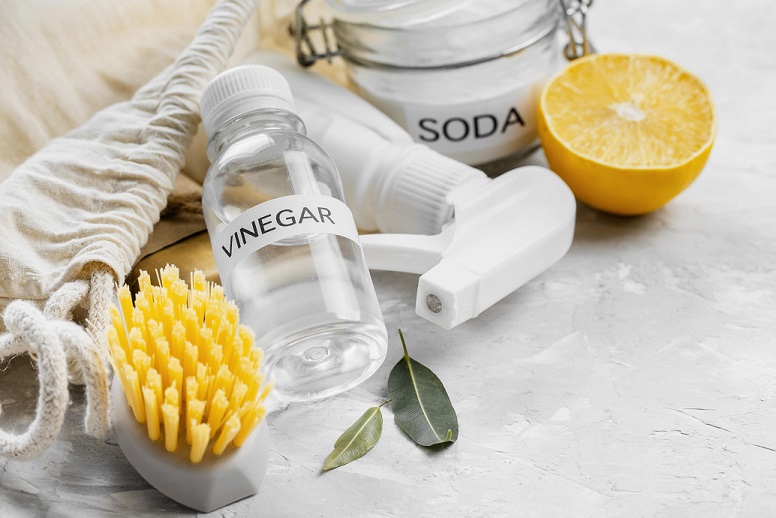
Step 3: Vinegar
Thirdly, add roughly 10-12 drops of vinegar to the water in the reservoir. You may need more depending on the size of your diffusers reservoir.
Always read manufacturers recommendations before cleaning with rubbing alcohol or vinegar.
Step 4: Power On
After a quick swirl, turn the device back on. Then, let it run for approximately 10-15 minutes to allow the solution to run it’s course, being distributed throughout the device.
Step 5: Power Off & Drain
Turn the diffuser off, drain the chamber with any remaining water/vinegar mixture.
Step 6: Wipe Clean
Wipe any excess residue from the sides of the reservoir. In particular, use a cotton swab or microfiber cloth to do so. You’ll want something soft and non-abrasive.
7. Clean the Chip
Next, add some vinegar once again to a soft material, like a cotton swab, and wipe off the ultrasonic mist chip.
If unsure what or where this is located, refer to your manufacturers instructions.
8. Rinse & Dry
Using clean water (like distilled water), rinse out the reservoir thoroughly. Afterwards, dry the inside of the chamber with a microfiber cloth.
How to Clean your Atomizing Essential Oil Diffuser:
(Easy Quick-Clean)
Step 1: Unplug The Device
Firstly, in cleaning your atomizing essential oil diffuser, turn it off. Power off and unplug it.
Step: 2. Rubbing Alcohol
Then, dip a cotton swab or use another soft tip applicator. With the rubbing alcohol applied, simply run your saturated swab or soft cloth over all the areas of the diffuser.
Done! Add oils, relax, and enjoy!
How to Clean your Nebulizing Essential Oil Diffuser:
(General Care & Cleaning)
Step 1: Remove the Reservoir
Firstly, remove the glass reservoir from the base of the diffuser and place it on something soft. Alternately, you can place in an empty bucket. This will help with clean-up, or from the glass falling over.
Step 2. Empty
Secondly, when initiating cleaning of a diffuser, the reservoir should be emptied completely.
Step 3: Add Rubbing Alcohol
Use a dropper and add 10-12 drops of rubbing alcohol to the glass reservoir. Surely you could instead pour it directly into the chamber. However, this way there is a little more control to how much you’re using.
Step 4: Use a Pipette:
Once the glass reservoir is cleaned, the next step involves the micro-tubes.
Micro-tubes can get clogged rather easily with essential oils. Likewise, how we used the dropper in the previous step, use a dropper size pipette with your rubbing alcohol and squirt the alcohol into the micro-tubes.
The pressure is usually enough to dislodge a clog and helps to keep the small tubes clean as well.
Step 5: Gentle Shake
Next, shake the reservoir gently to help break up any residue, or build-up on the glass. Consequently, the longer you go between cleanings, the more residue can accumulate.
Step 6: Finish with a Swirl
Gently swirl the alcohol in the reservoir to clean the sides. Depending on how long it’s been since your last clean, and other various factors, you may have to empty the alcohol and add a few more drops.
Repeat this method.
If you do this with each clean, there may be no need to wipe inside the glass, the alcohol and swishing action should do the trick.
7. Dry:
Last, sit your glass reservoir aside and let dry thoroughly before replacing it back to its base.
How to Deep Clean your Nebulizing Aromatherapy Diffuser:
Deep cleaning only needs to be performed 1x/month
Step 1: Safety

Because with deep cleaning you’ll be using hot water (140-190F), make sure to take any safety precautions.
Step 2: Heat Up The Water
Next, heat up your water. You can use a thermometer to monitor temperature.
Refer to your owners manual for exact temperature range(s).
Step 3: Remove The Reservoir
After that, remove the reservoir from the wooden base of the diffuser.
Place the glass reservoir in a container or small bucket to soak and help with keeping the area clean.
4. Mix
Add a small amount of dish soap (like dawn) to the hot water.
Pour this mixture into the same container as you have your glass reservoir. Above all, make sure you have some sudsy-like build-up, from the soap and water.
Again, depending on the severity of the oil build-up, it may require more or less soap.
Additionally, it may need to dwell for extended period of time. Continue to add hot water over a period of 30 minutes – 1 hour.
Step 5: Let Sit
There really is no set amount of time to allow to dwell. If you are consistent with this type of cleaning 1-2x/month and depending on how often you use your diffuser, it should only need to sit for roughly 20-30 minutes.
6. Dry
Lastly, allow some time to dry thoroughly.
Replace the glass reservoir and you’re all set!
Final Thoughts!
We hope you enjoyed this post on how to clean an essential oil diffusers.
Again, always remember to refer to your owner manuals when it comes to specific cleaning procedures.
Consequently, if you’re consistent with your maintenance, not only will you extend the life of your diffuser, but it will also improve it’s function.
Finally, be sure to share our post and any products you like on your social media platforms!