×
Don't miss out!
Sign up for 10% off your first order
and exclusive product previews!
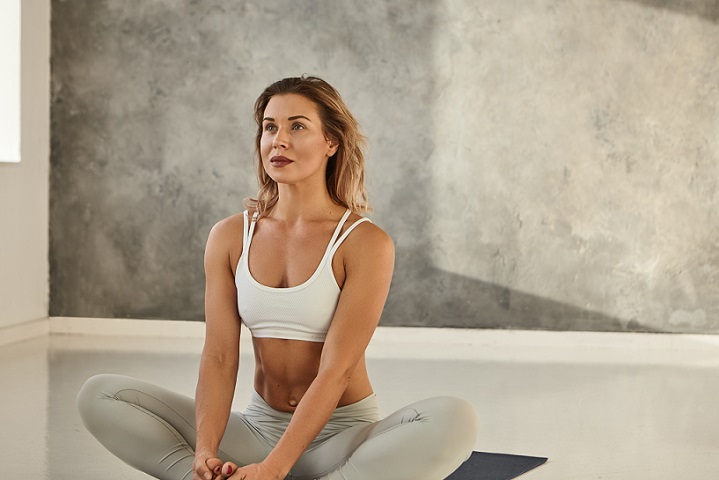
A Brief History Lesson: Firstly, it’s important to understand that Yin and Yang yoga are 2 separate styles of yoga. “Yin/Yang” yoga is a sort of fusion, between the two.
Yin yoga, a unique style of Taoist yoga, has it’s roots in Ancient China & Taiwan. Stylistically, the roots are said to be linked. Much of the work within the practice focuses on the lower part’s of the body. For example, the legs, hips, and lower portions of the spine.
Yin yoga is a more slow-paced style. The asanas are typically held for much longer durations of time. In fact, some up to five minutes longer then traditional yang yoga postures. Furthermore, with an emphasis on helping energy flow and circulation within the body.
Yin yoga focuses more on passive stretches or asanas, if you will. Oftentimes, an individual can target muscle groups, and joints more significantly. In like manner, the slower paced movements and longer holds, help to target deeper connective tissues then a faster paced style, may.
Additionally, Yin yoga may offer benefits of not just physical, but emotional and mental. Some may reference restorative yoga asanas, when articulating about yin yoga, because of the more slow, passive postures involved.
In fact, one research study looked at a 5-week long Yin yoga-based intervention, and it’s potential impact on a specific biomarker, (ADM) or adrenomedullin, which has been linked to problems such as stress, anxiety and depression.
In conclusion, Yin yoga showed potential as a “low cost, easy method”, for limiting negative health effects associated with stress.
Yang-type yoga, first thought developed in India, is today’s more traditional Hatha and Ashtanga yoga styles. A faster paced, more dynamic style of yoga, focusing on aspects that help with flexibility and strength, simultaneously. This style often mimics movements and repetition, like in Vinyasa Flow.
This is a point where creativity within this practice, comes into play. How can we blend the two styles?
Not all yoga routines focus on such fusion. Oftentimes, one “style” or the other, is the main focus throughout a session.
Related Article: Combining Bootcamp and Yoga: Ideas for Yoga Bootcamp
Above all, Yin/Yang yoga may just be about a balancing act. One, a more passive style (Yin) of yoga approach. Thus, developing a connection and better stretch to deep tissues & joint mobility. Two, a more active style (Yang), increasing not just that of flexibility, but strength, endurance, & stamina.
Oftentimes, a typical Yin/Yang routine will begin with the “yin” approach. Then, followed by postures, poses, and flows of the more “yang style”. The styles together balance one another out. Thus, improving not just the body, but promoting relaxation, mind-body connection, and healing.
1. Sphinx Pose (Salamba Bhujangasana, Niravalasana)
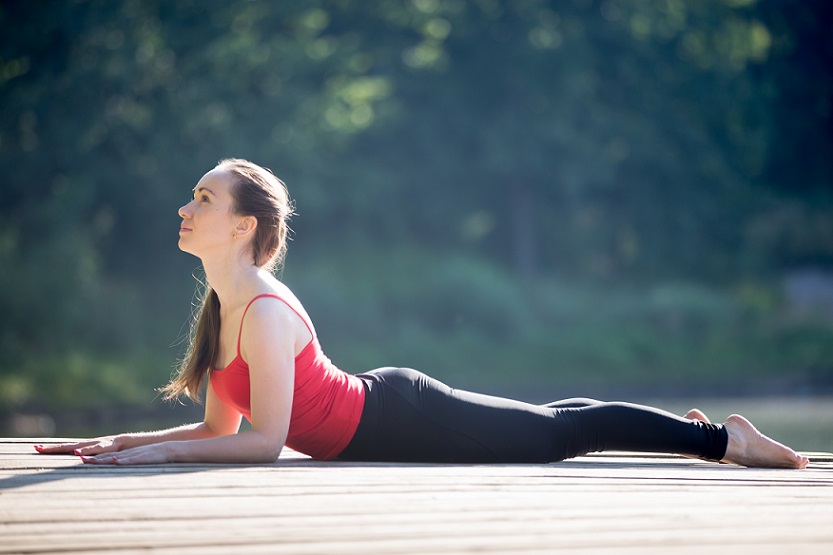
Sphinx pose is straightforward and may be a slightly easier hold for new yogis as it is widely considered a beginner-friendly pose. This beginner pose, benefits your lower back, core, chest and arms. This widely used yoga pose helps cultivate core strength, and can be done by following the guide below.
Steps:
1. Start in the prone position or on your belly, feet should be roughly hip-width apart.
2. Then, place your forearms down on your yoga mat, and gently begin to press into the yoga mat as you inhale. Arms (elbows) should remain close to your sides.
3. Activate the quadriceps and buttocks by squeezing, as well as pressing down the hip/pelvic bone into the floor.
4. Continue to gently press the forearms down, giving you an even better stretch of the core.
5. Furthermore, making sure the back is straight and shoulders are drawn down and back, pressing the chest forward, (not hunched). Above all, this should be a confident pose.
6. Continue to breath in and out slowly and with focus. Hold Sphinx pose for 1-3 minutes.
Generally, Sphinx yoga pose can be a preliminary pose to other various asanas.
2. Reclining Spinal Twist (Supta Matsyendrasana)
A common twist/stretch type pose, the reclining spinal twist is a beginner friendly pose. Pay special attention if you have any physical ailments with performing twisting poses. Contraindications for this pose would be any acute or chronic injuries to the back, neck, hips or knees.
The reclining spinal twist can be beneficial for your mid-lower back (lengthening the spine), & neck.
Steps:
1. Begin with your back against the floor, supine, mimicking the look of a “T”. Choose one knee to bend.
2. Secondly, bend this leg (right) at the knee, placing the right foot, on the left knee.
3. Then from here, proceed to position the right knee over-top the left leg, dropping it on the mat. This will require you to twist your back/spine at this time.
4. To get a better stretch on the neck, you can attempt to look opposite the leg thats crossed.
5. Keep your shoulders pinned to the floor, if possible.
6. Continue to breath in and out, holding the pose for 2-4 minutes. Release, continuing with the opposing leg.
3. Caterpillar Pose
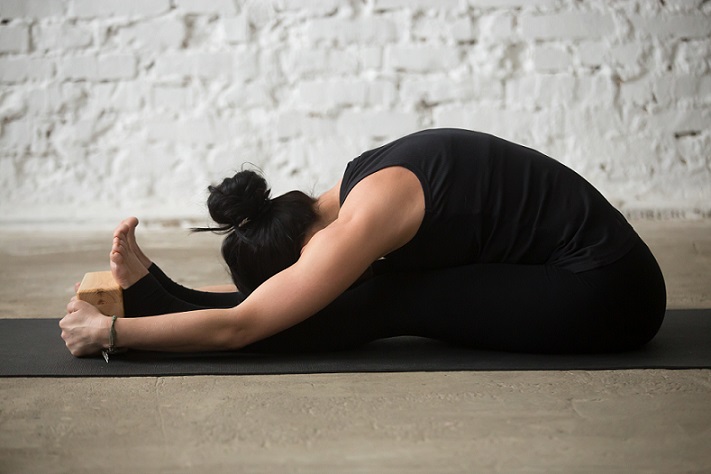
Caterpillar pose is a sitting-type yoga pose, and beginner friendly. It focuses on the lower back. Similar to the forward bend, caterpillar pose can also be done bending at your knees for beginners, or if inflexible.
There are other modification to this pose, like reaching for your ankles, bending at the knees slightly, and even using tools, such as a yoga blanket or cushion under the buttock region.
Steps:
1. While seated on the floor, place you legs straight out in front of your torso.
2. Then, begin to bend at the hips, rounding your spine, allowing your arms to freely be positioned at the side of your legs or resting on-top.
3. As you hold this pose, allow your feet and ankles to relax, falling outwardly.
4. Relax and hold this pose 2-4 minutes.
4. Butterfly Pose (Baddha Konasana A)
Butterfly pose or Baddha Konasana, is a forward bend, stretch-type yoga pose, practiced in the seated position. Similar to the lotus pose, but better tailored for beginners of yin yoga.
This is a yoga pose beneficial for your lower-mid back, pelvic region, and groin.
Steps:
1. Like the caterpillar pose, butterfly pose begins in the seated position.
2. Bring the bottom (or soles of your feet) together and as close to the body as you can, while still remaining in a comfortable position. However, you should begin to feel a stretch at this time.
3. Then, begin to bend at the hips, taking a breath in. Your hands can either be placed in front of your body or grabbing onto your feet in front.
4. Gradually press downward with your legs, gaining a better stretch of the pelvic region.
5. Hold this pose for 2-4 minutes.
5. Happy Baby (Ananda Balasana)
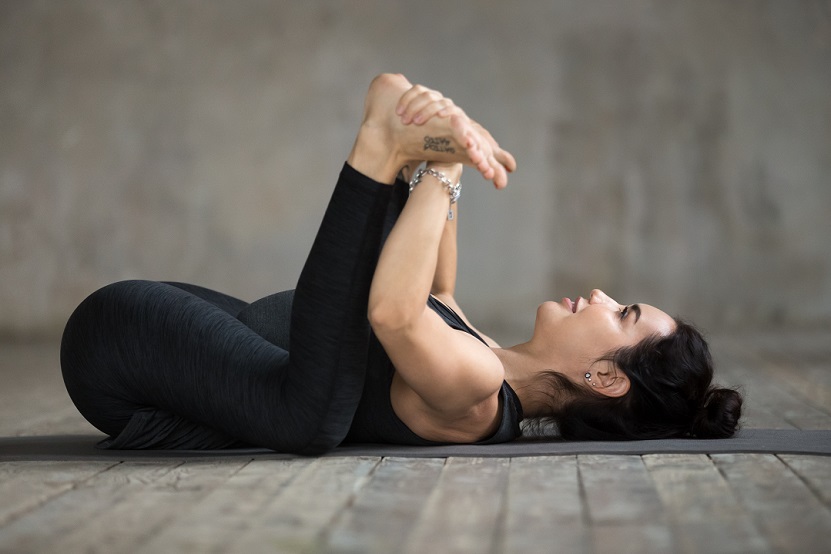
Lastly, is another great beginner Yin yoga pose. Happy Baby pose, also known as Ananda Balasana is done in the supine position. Another pose used often restorative yoga. It benefits the lower back, hamstrings, hips and pelvic region.
Steps:
1. Firstly, come to a supine position, exhale.
2. Then, bring both knees up toward your stomach. Your legs should flare out, slightly wider then your upper body width. Continue to bring them upward toward your shoulders.
3. Attempt to grab the outside of your feet to your toes. At the end of the position, your knees will be over-top your ankles. Your shin, or lower portion of your legs, will now be perpendicular to the mat. Your thighs will either be parallel to the floor or close to this positioning.
4. Gently hold the stretch, as you fall deeper into the pose, you can pull your hands toward the ground to add more resistance.
5. Breath slowly. Hold for 1-3 minutes.
Whether it’s Yin yoga, Yang yoga, a combination of the two, or another style, make sure you have a clear goal in mind for your practice. Stay disciplined and focused, but also have fun whilst within your sessions.
Yoga can be tailored toward anyone and everyone. You can even practice yoga together, like couples yoga. The idea is to stay regular and focused with your practice. Eventually, you may even venture to different styles, depending on your mood, physical or mental goals.
Thanks for stopping by and be sure to share our posts on social media and other social platforms. Have a great day!

Get updates, top yoga recommendations, and an exclusive preview of our upcoming products!