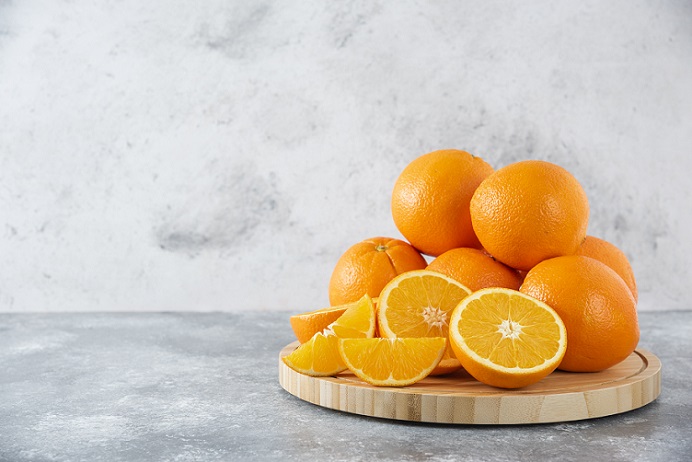
The Orange Bath Bomb Recipe:
Orange essential oil is one of our favorite scents to use in our products, and makes for a great scent in bath bombs, in particular. Furthermore, the smell of it, just makes us feel happy. What better way to relax and get into a great mood, then soaking in a tub full of orange bath bomb aromas. Follow along as we share our easy orange bath bomb recipe!
Certain oils, just have the ability to make people feel more relaxed and at ease, and orange essential oil is one of them, for us at least.
A Tidbit About Orange Essential Oil:
According to Healthline.com orange essential oil is commonly used for lifting mood(s), treating skin conditions like acne, and even helping to relieve inflammation and upset stomach.
In fact, in one clinical trial, orange essential oil even had positive effects on reducing women’s anxiety during labor. Pretty cool, right?
Now keep in mind, not all essential oils are created equal, we’re talking about therapeutic grade, pure essential oils. Let’s also not forget that research studies of essential oils are somewhat limited, different individuals may experience different effects.
An Orange Bath Bomb Recipe:
Equipment:
- Bath Bomb Mold (3-4 oz. stainless steel round mold)
- Measuring Cups/Spoons
- Mixing Bowl(s)
- Spray Bottle With Witch Hazel
- Gloves, Face Mask & Eye-wear
Dry Ingredients: (Most common ingredients review)
- Baking Soda: 2 Cups
- Citric Acid: 1 Cup
- Epsom Salt: 1/4 Cup
- Corn Starch: 1/8 Cup
- Cream of Tartar: 1 TBSP
- Sodium Lauryl Sulfoacetate (SLSA): 1 TBSP
- Orange Mica Powder: 1 tsp
Wet Ingredients:
- Grape-seed Oil: 1 tsp
- Polysorbate 80: 1 tsp
- Orange Essential Oil: 25 Drops
Directions:
Step 1: Let’s Mix
Firstly, take your dry ingredients that you have measured and mix them together. For example, this will include baking soda, citric acid, Epsom salt, SLSA, cream of tartar, corn starch and mica powder of choice.
Make sure to purchase fine grain citric acid and use powdered mica colorant (from a reputable brand) when assembling these bath bombs.
Step 2: Mix Again:
Secondly, it’s time to mix your wet ingredients. For example, the polysorbate 80, orange essential oil and grapeseed oil. Furthermore, make sure to have all of the ingredients measured out, being precise as possible with these mixtures.
Step 3: Combine
It’s time to combine your ingredients into one mixture and start getting to the proper consistency for molding. Pour your wet ingredients into your dry, and start to mix.
Ordinarily, if making a big batch, using a stand mixer is easier, but for small batches using your hands to mix, works just fine. Consequently, using your hands also gives you a better sense of the “right feel” and texture to know when it’s ready to mold.
Step 4: Not Quite There Yet
At this point, your mixture should still be a little dry to mold. In comes the spray bottle of witch hazel. Spritz the mixture 3-5 times, and start to mix right away.
Step 5: Squeeze & Drop Test
Then, it’s time to test your mixture. Once you’ve sprayed your mixture a few times, grab a handful of mix. Squeeze it hard in your hand and then drop it back into your bowl from about 6 inches above the bowl. If it stays together, it is ready to mold, if not, repeat step 4.
Step 6: Almost There
Now take your mold and overfill each side of the mold halves.
Tip: If you overfill each side and then press one of your fingers into one side, it crates an air pocket in your final product and helps it to spin.
Step 7: Use Those Muscles
Afterwards, press each side together tightly for 5 – 10 seconds.
Step 8: Unveil
Tap on the top and bottom of the mold with a wooden spoon, then proceed to take the top half off.
Then tip the bottom half into your hand and let the bath bomb fall into you hand.
Step 9: Dry Time
Finally, place your newly created orange bath bomb on something soft, like egg carton foam, allowing it to dry 24 hours.
Check Out Other DIY Bath Bombs Below:
Final Thoughts!
Surely, it you follow these steps, you are well on your way to making an awesome bath bomb. Although this is a recipe we provide for making an orange bath bomb, don’t afraid to substitute other essential oils of your liking.
Be sure to follow along with many of our other bath bomb recipes and share the ones you like on your social media outlets.
Thanks for stopping by, we can’t wait to see you again soon.
References:
- https://www.healthline.com/health/orange-essential-oil-uses
- https://www.ncbi.nlm.nih.gov/pmc/articles/PMC4700683/
